This page has been archived and has been replaced by: Roxbourg Email ID
Home > Roxbourg Campus > Roxbourg ID

Setting up your Google Workspace / Roxbourg ID
Setting up your Google Workspace / Roxbourg ID on a desktop
Step 1:
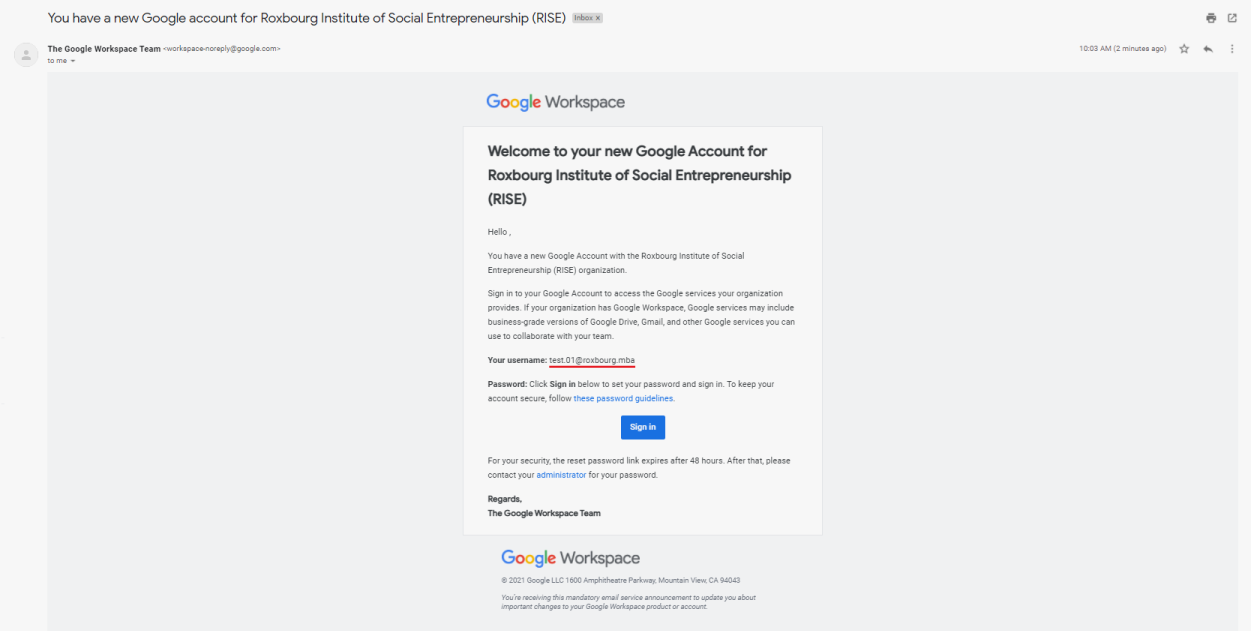
1. You will receive an email to your personal email account from The Google Workspace Team.
2. The title of the email will be - You have a new Google account for Roxbourg Institute of Social Entrepreneurship (RISE).
3. The email will show you your username and ask you to set up a new password.
4. Click the blue “Sign In” button.

Step 2:
1. The set up process of your new Roxbourg email address starts with the Terms & Conditions from Google. Please read the different points and click “Accept” once you have understood the description.

Step 3:
1. You can create your own personal password for your Roxbourg email address. Please ensure your password is at least 8-characters long.
2. Once you have filled up the two entries with your password, click the button “Change password”.

Step 4:
1. Once you have created your new password for your Roxbourg email address, you will arrive to your personal Dashboard. The Google Dashboard will show you all the applications you have access to with your Roxbourg ID.
2. From this Dashboard, access your Gmail account to set up your mailbox.

Step 5:
1. Once you have accessed your Roxbourg mailbox, you can view the different apps in the top right corner.
2. You will find the Google Chat app in this list. Click the icon to access the application and find your Study Group.

Step 6:
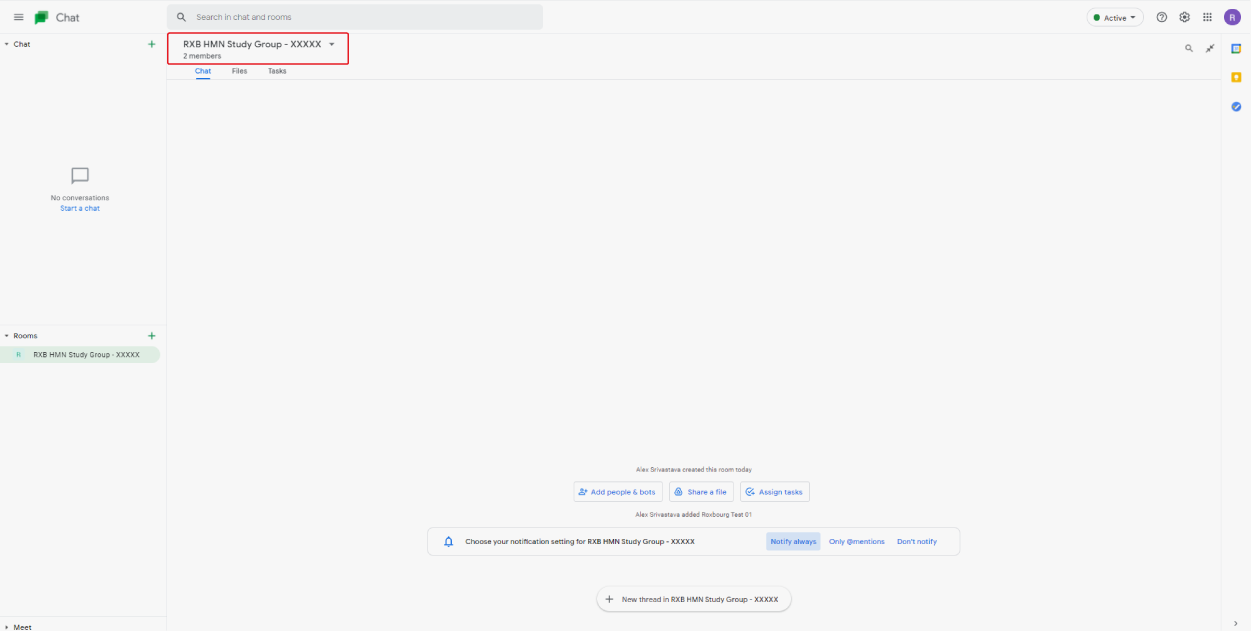
1. Google Chat is linked to your Roxbourg email address.
2. You will find you Study Group in the bottom left corner of the page under “Rooms”.
Step 7:
1. You will find all the team members of your Study Group.
Setting up your Google Workspace / Roxbourg ID with a mobile

Step 1:
1. You will receive an email to your personal email account from The Google Workspace Team.
2. The title of the email will be - You have a new Google account for Roxbourg Institute of Social Entrepreneurship (RISE).
3. The email will show you your username and ask you to set up a new password.
4. Click the blue “Sign In” button.

Step 2:
1. The set up process of your new Roxbourg email address starts with the Terms & Conditions from Google. Please read the different points and click “Accept” once you have understood the description.

Step 3:
1. You can create your own personal password for your Roxbourg email address. Please ensure your password is at least 8-characters long.
2. Once you have filled up the two entries with your password, click the button “Change password”.

Step 4:
1. Once you have created your password, you will be asked to choose an account. Click the option “Use another account” at the bottom of the list.

Step 5:
1. To make it easier to set up your Roxbourg email, you can click the option “Sign out and turn off sync”.

Step 6:
1. Click “Continue” to sign out of all other Google accounts.

Step 7:
1. Once you have signed out of all other Google accounts, you will have the possibility to sign in with your Roxbourg email address.
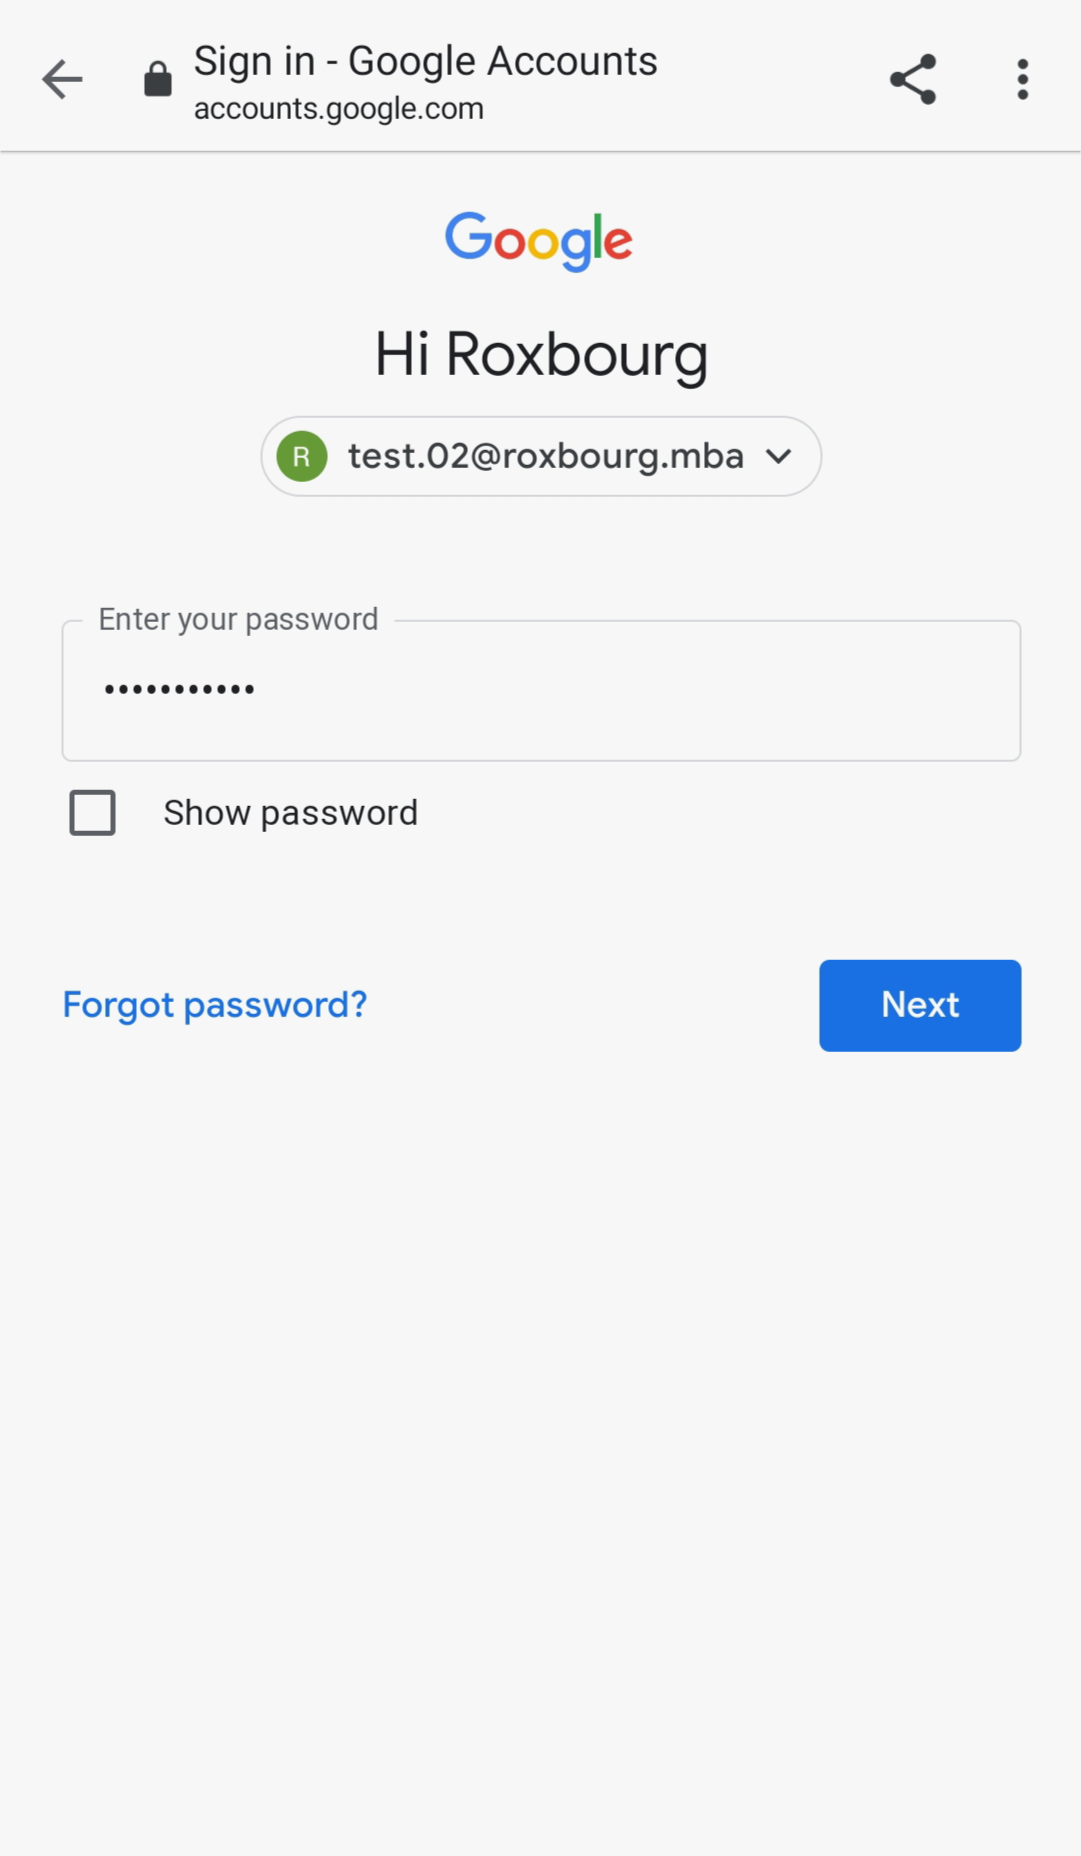
Step 8:
1. Use the personal password you created for your Roxbourg email address.

Step 9:
1. Once you have logged in with your Roxbourg email address, you will arrive to your personal Dashboard. The Google Dashboard will show you all the applications you have access to with your Roxbourg ID.
2. From this Dashboard, you can view the different apps in the top right corner.

Step 10:
1. You will find the Google Chat app in this list. Click the icon to access the application and find your Study Group.
2. If you are prompted to download the Google Chat app from the Google Play store or the Apple App store, please follow the steps on the screen and open the Google Chat app.

Step 11:
1. Once you have downloaded the Google Chat app, verify you are logged in with your Roxbourg email address by clicking on the icon on the top right corner.
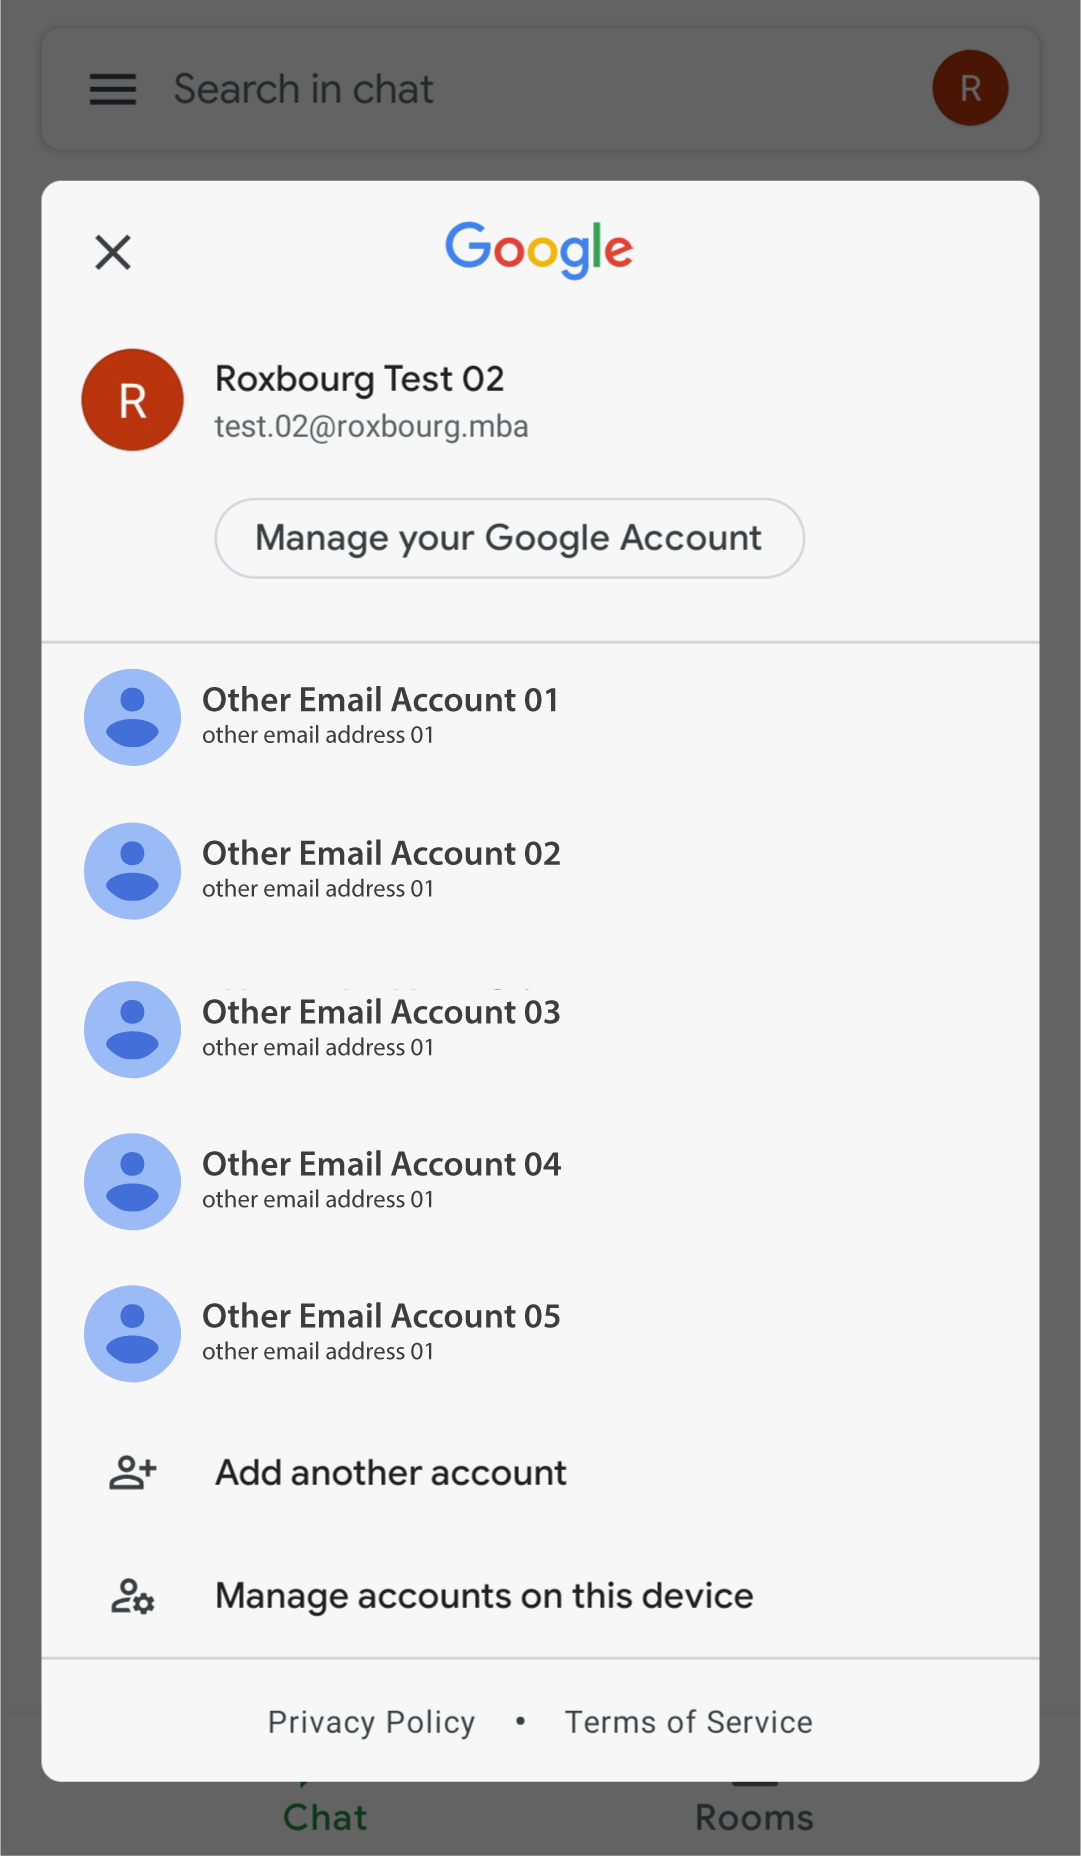
Step 12:
1. To verify that you are using your Roxbourg email address, make sure that the active account at the top is your Roxbourg email account.

Step 13:
1. Once you have verified that you are using your Roxbourg email account, click the “Rooms” button at the bottom right corner of the screen to find you Study Group.

Step 14:
1. You will find all the team members of your Study Group.
*Notes:
:: To find the exact time of your Seminar, Jam Session or Event, go to www.roxbourg.mba/seminars
:: For Frequently Asked Questions, please see www.roxbourg.mba/faq
:: If you have any questions, contact us at innovate@roxbourg.mba
:: Here is the link to learn more about the backstory of Roxbourg MBA
:: Here is the link to calculate your local time